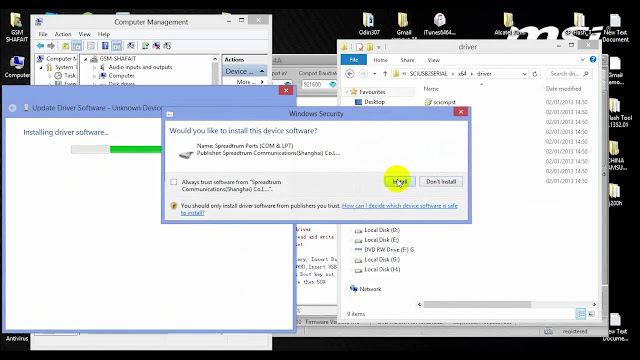
These are the instructions to manually install spreadtrum usb driver on windows computer (including Windows XP, Vista, Windows 7, Windows 8, 8.1 and Windows 10).
Manually install spreadtrum usb driver on windows computer
1: Download and extract Spreadtrum USB Driver on your Windows Computer.
Firstly Download Spreadtrum Drivers (SPD USB DRIVERS) or Download here
2: Now, open Device Manager on your computer (to open device manager > Press Win+R to launch Run Command > In Run Command Window, Type devmgmt.msc).
3: Once, device manager is launched, Click on your computer name.
4: Now, Click on Action Menu and Select Add legacy hardware.
5: In the Add Hardware Wizard > Click on Next to continue.
6: Now, Select Install the hardware that I manually select from a list (Advanced) and click on Next to continue.
7: Now, under common hardware types > select on show all devices and click Next to continue.
8: Now, click on Have Disk and using the browse button locate the Spreadtrum Driver (SciU2S.INF).
9: Once your driver is listed in the blank area, click on Next to continue.
10: Now, again click on Next to continue.
MUST READ: You can also read how to unlock all itel Smartphone successful without any softwares.
11: Now, you will be able to see Windows Security Dialog Box. Under Windows Security Dialog Box, Select Install this driver software anyway.
Now, device manager will install the Spreadtrum driver on your computer (may take 1-2 minutes only).
12: Lastly, Click on Finish button to close the Add Hardware Wizard.
FOR EASY UNDERSTANDING WATCH THIS VIDEO NOW
Above you can see the spreadtrum drivers is installed and listed in the device manager.
Enjoy and share this website to your friends, also if you having any kind of problem about this tutorial you can contact me or Added my number to your Whatsapp contact... +2348067611897...


0 komentar:
Posting Komentar